How to setup Java Development Environment
First is first. In this chapter, we will learn, how to set up the complete environment to run a java program.
Java Installation
Get java from https://www.oracle.com/in/java/ that is compatible with your operating system.
What we are going to download is the Java Development Kit (JDK). JDK provides all the infrastructure to build and run Java applications. It includes tools for testing the java applications as well.
This tutorial explains the installation of JDK 11.0.12 in a 64 bit Windows 10 operating system. This version is available at https://www.oracle.com/in/java/technologies/javase-jdk11-downloads.html
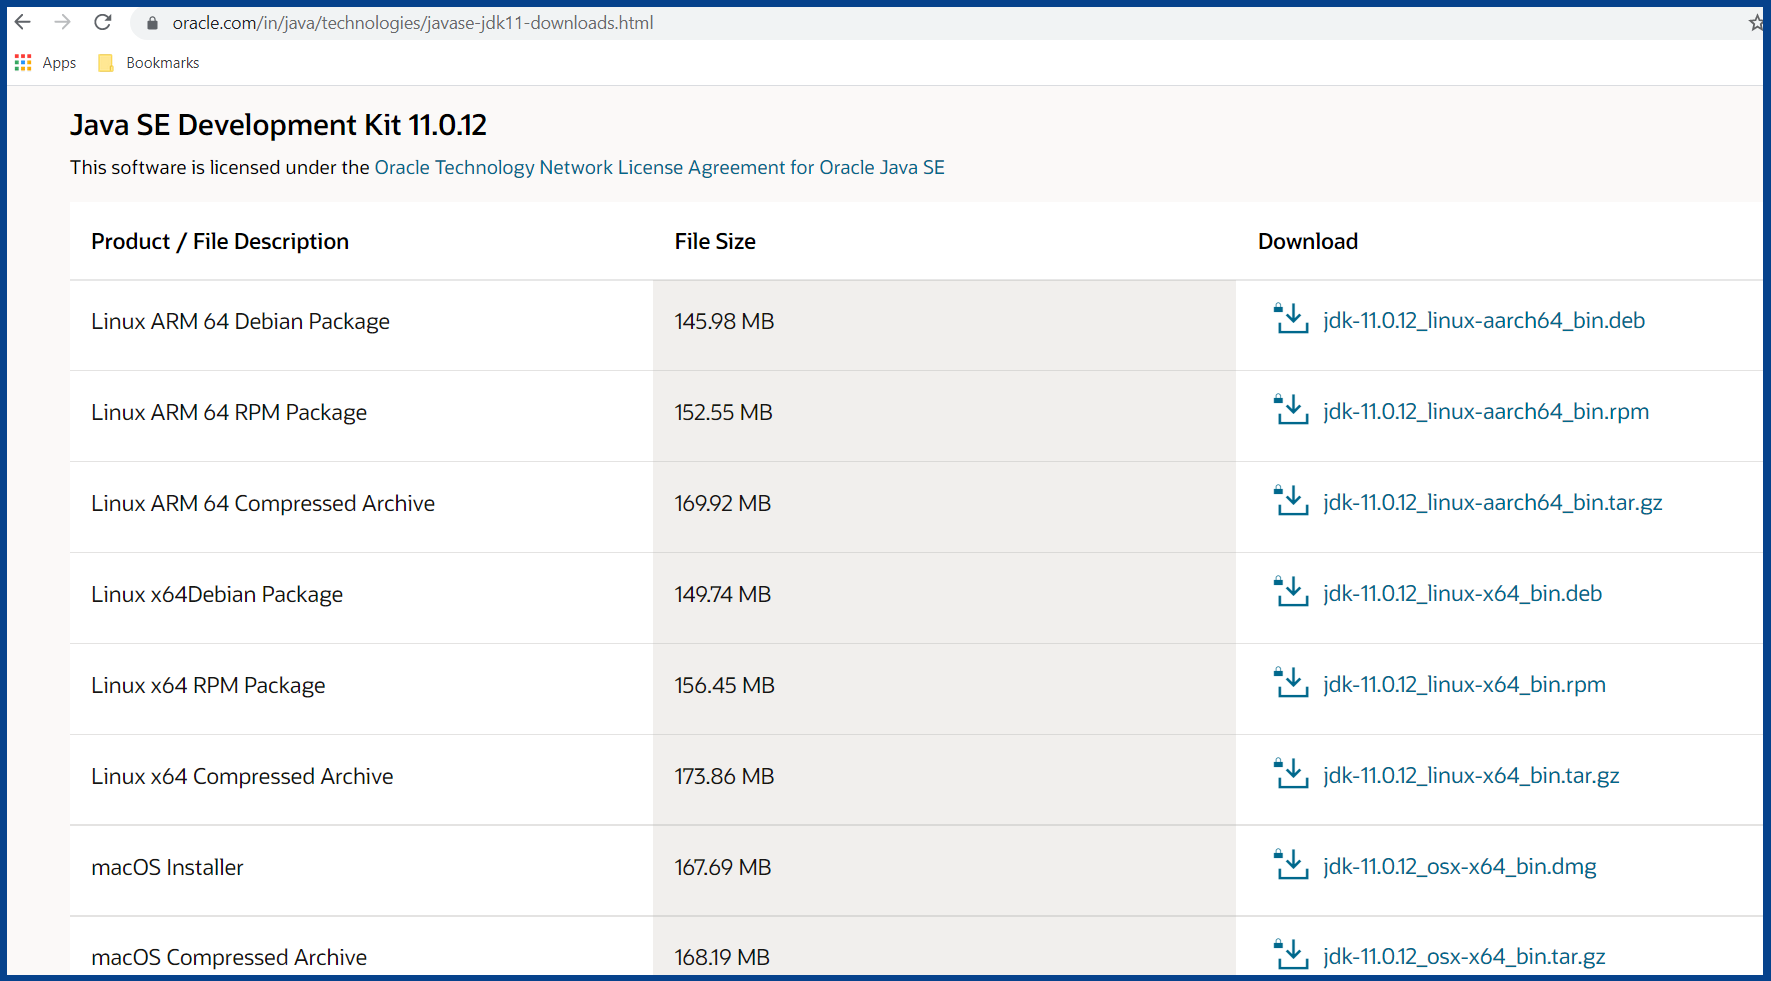
Once you logged in and accepted the Oracle terms and conditions, you can download the installable into your machine.
Installation Steps
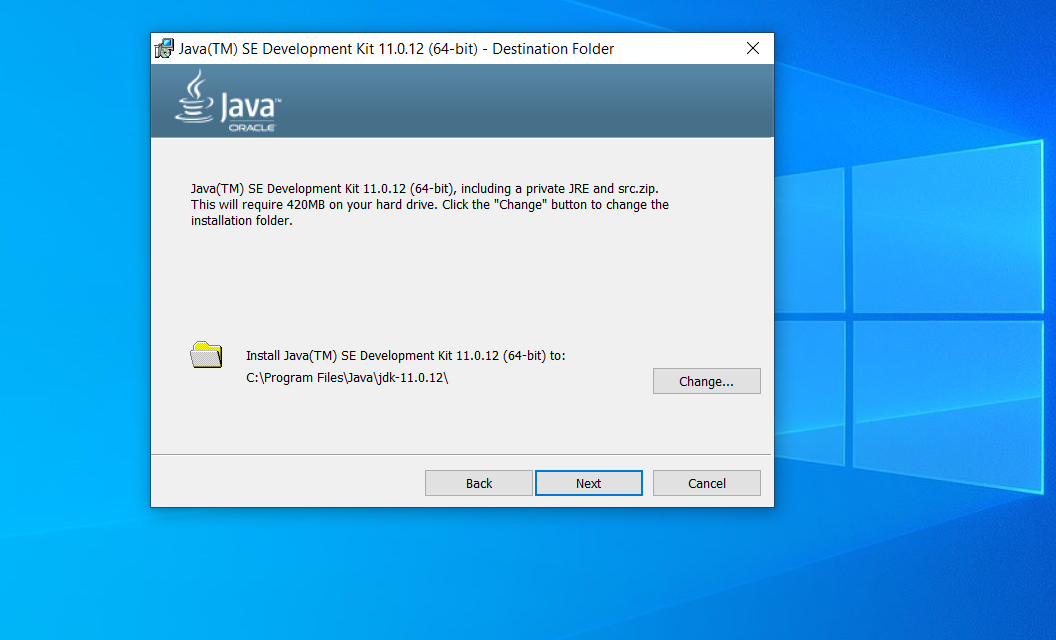
Double click the installable we downloaded in the previous step. Installation begins with the below welcome window.

In the next window, we can select the directory where we want to install java. You can see the default path is already selected. (C:\Program Files\Java\jdk-11.0.12\)
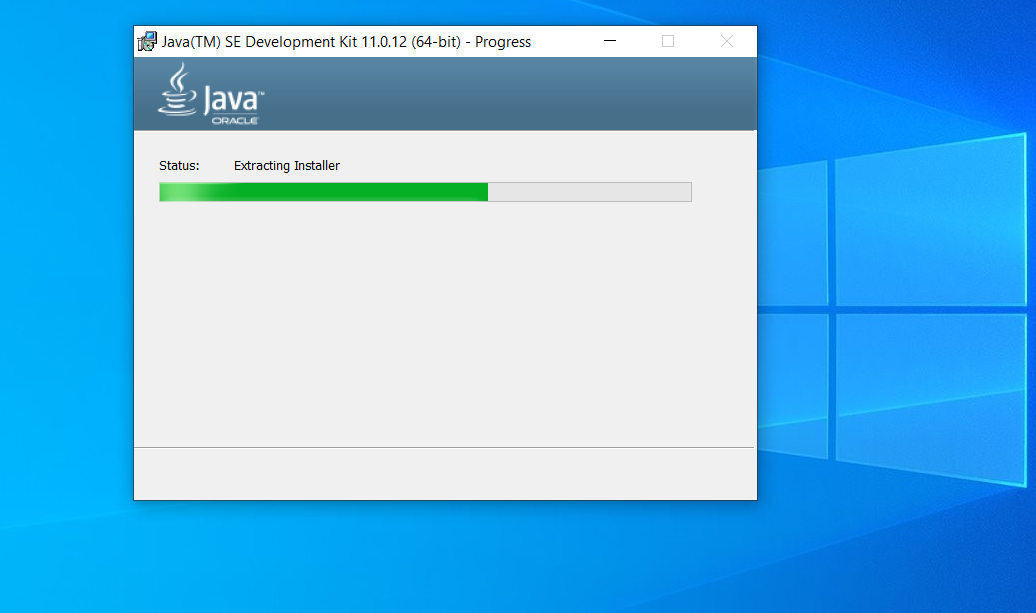
Proceed to the next window, where you can see the installation progress.
We are done with the installation. Java is ready to be used. Before start, a few additional configurations are on the way.

Setting the JAVA_HOME and PATH
We can set an operating system level environment variable called JAVA_HOME and a new entry to the PATH variable.
These environment variables help us to compile and execute java programs from anywhere on your computer.
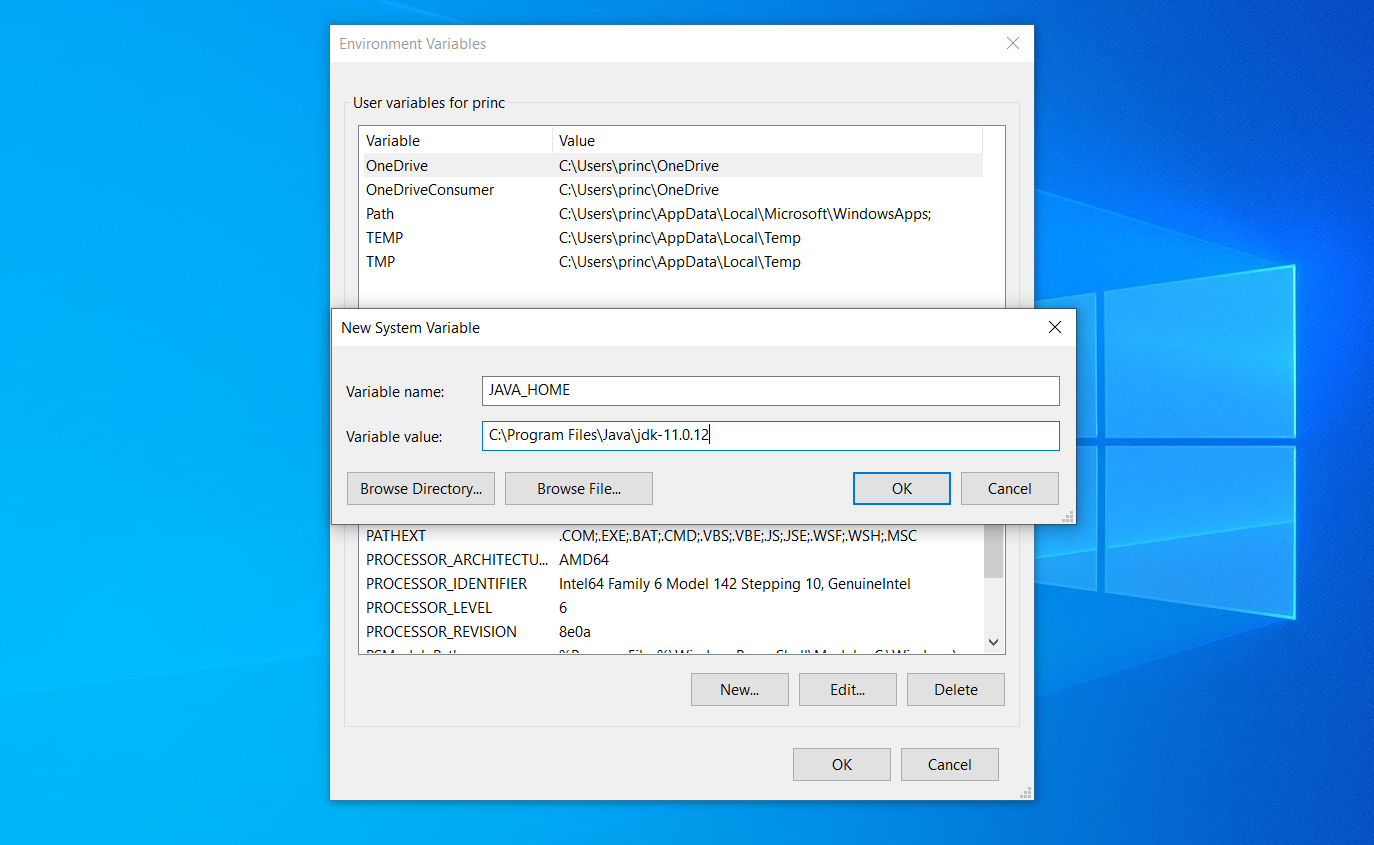
JAVA_HOME points to the folder where JDK is installed. The below image shows how to set up the JAVA_HOME variable.
Goto system properties >> Environment Variables
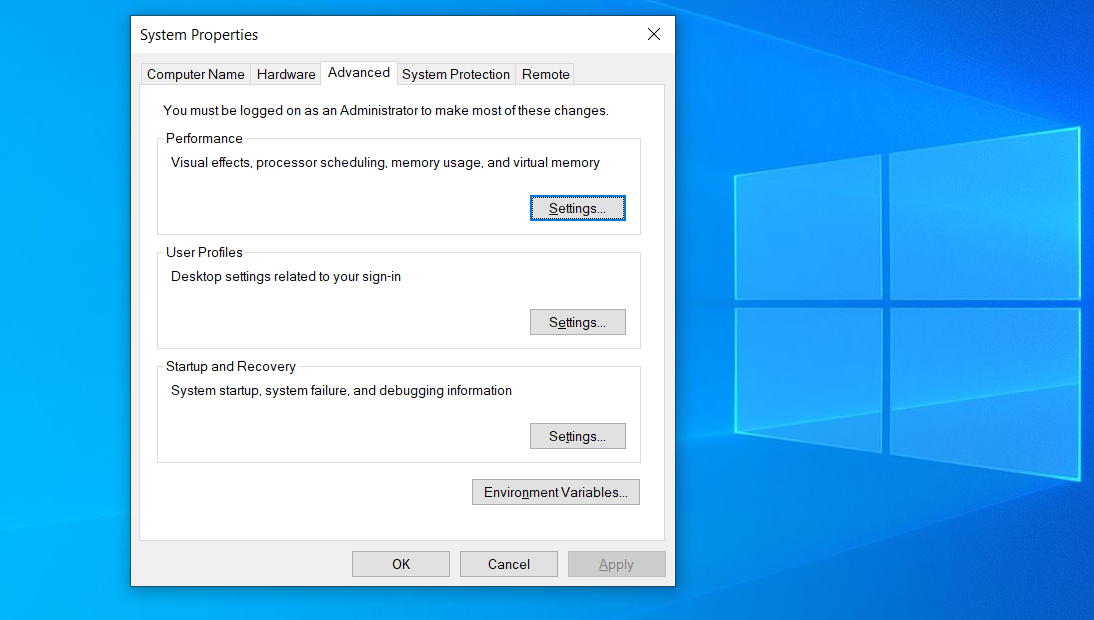

We can set the JAVA_HOME like below by creating a new system variable that points to the directory where we installed JDK.
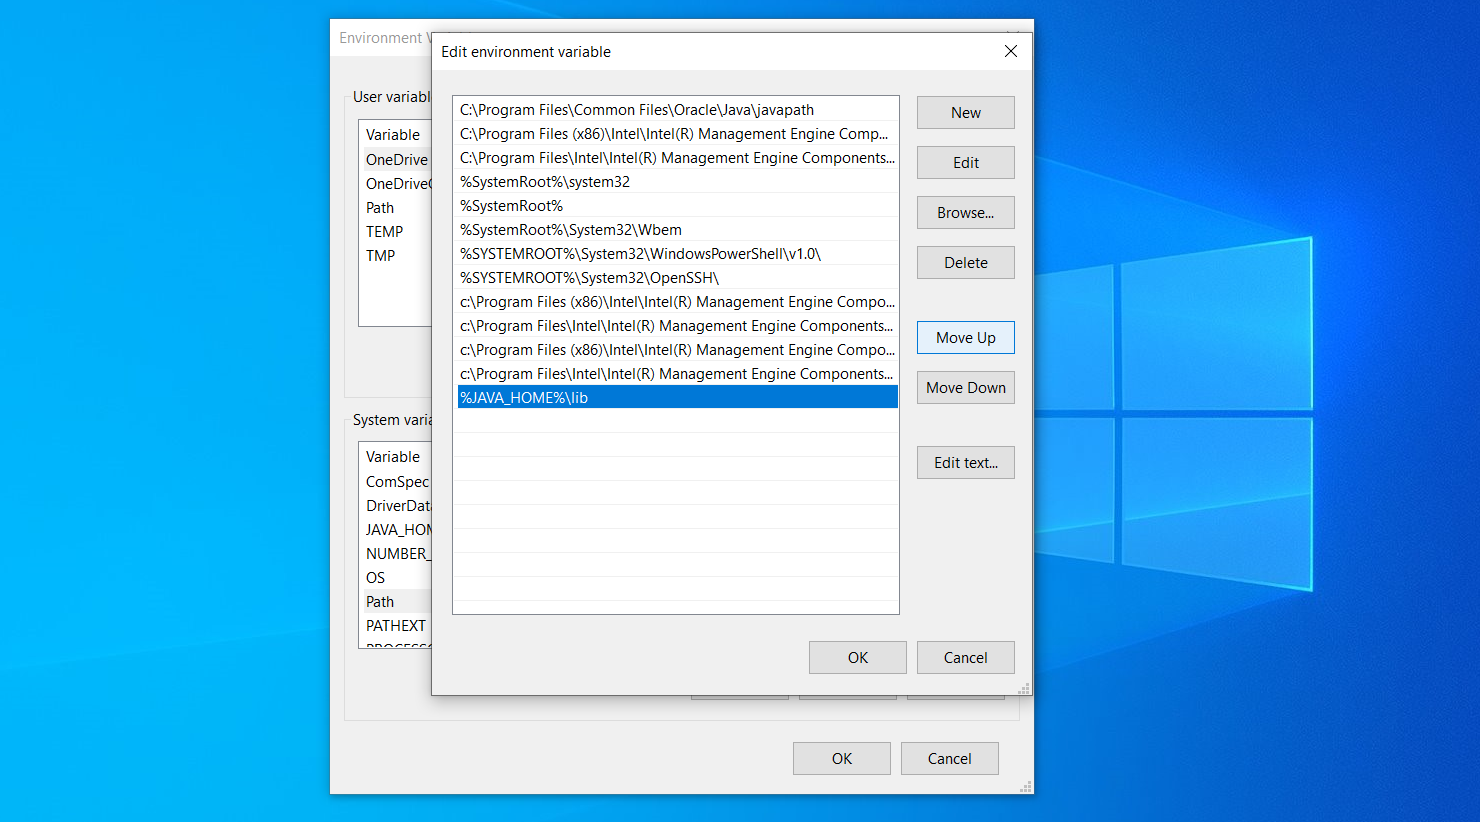
You will be already having the PATH variable available in the system variable list. You can add a new entry like below that points to the lib directory inside your JAVA home.
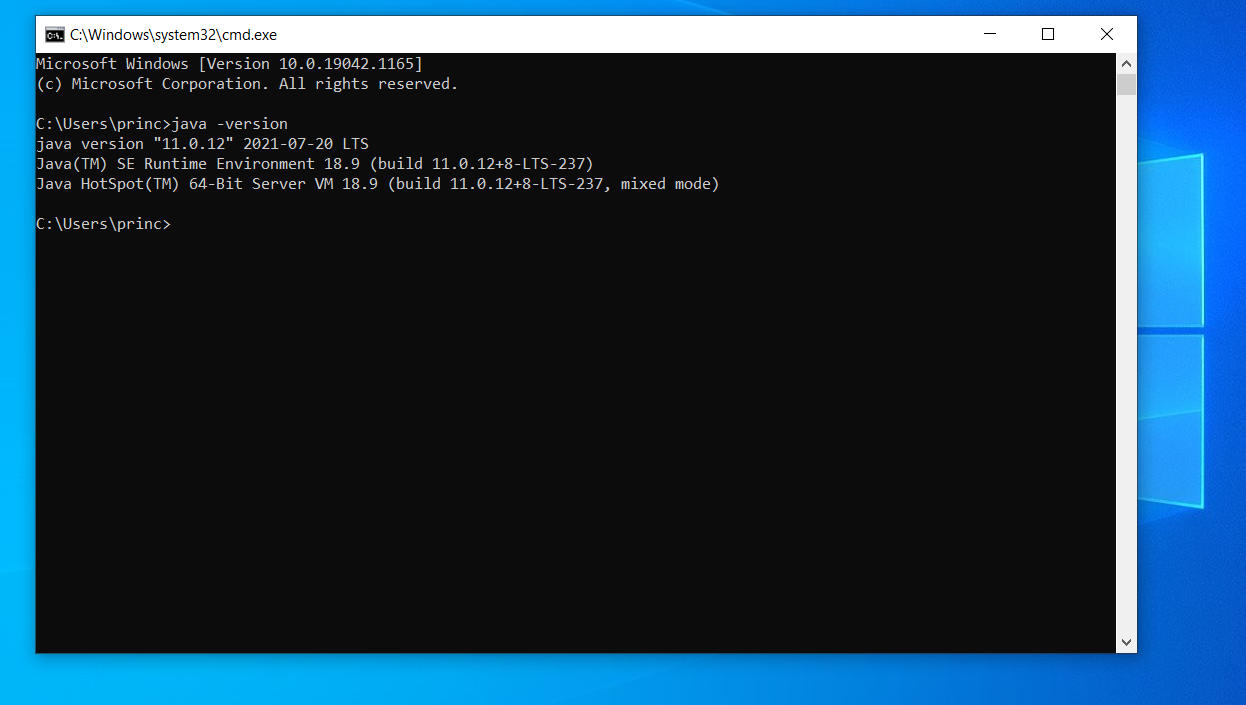
We can validate the installation status by checking the java version through a command prompt.
Setup an IDE for Java
There are a lot of IDEs (Integrated development environment) that can do all the tasks of providing a code editor, compile and run the java programs. Eclipse, Netbeans and Idea Intellij are some favourite IDEs of java developers.
In this section, we will see how to set up eclipse IDE. We can get the eclipse downloader at https://www.eclipse.org/downloads/
Open the installer we just downloaded, which will display a list of options like below.
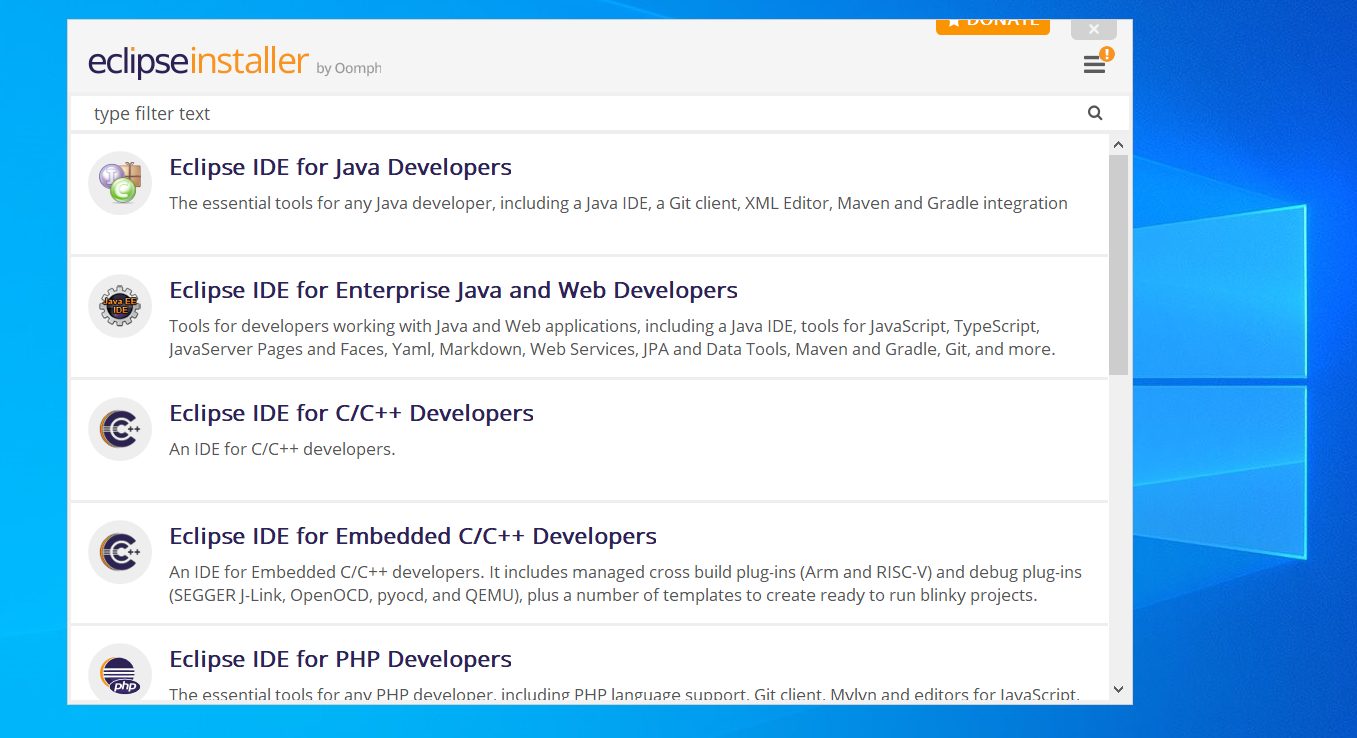
Select Eclipse IDE for Enterprise Java and Web Developers and proceed with the installation.

Verify the installation progress here. You can see that the installer automatically picked the java version we installed in the previous step.
Workspace Selection
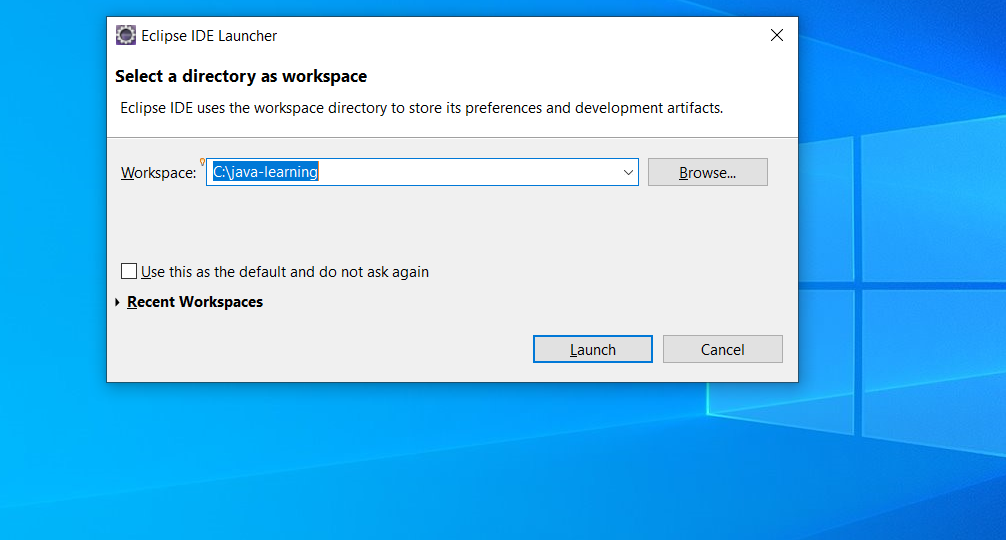
As a next step, we need to set up a directory as a workstation for eclipse. Eclipse IDE uses this directory to store its artifacts and preferences.
You can logically group your projects into different workspaces. Eclipse IDE provides an option to set one of your workspaces as the default one.
You can mention an existing directory as a workspace, or simply type a name, eclipse will create that folder if it doesn't exist and make it the current workspace.
In the next chapter, we will start with our first java program.